|
Using Side-by-Side Map Attractions is the quickest and easiest method of viewing and tracking the attractions you would like to visit.
Although there are numerous methods of viewing and selecting your attractions, the easiest is to display either the Trip Builder: Activities page or the Trip Builder: Checklists page on one side of your screen while viewing the Google Maps Location Attractions Map on the opposite side of the screen. This provides an easy way to see everything on one screen, allowing you to select and enter the attractions you want to experience at each location.
 As you create your Activity and Checklist items, don't be concerned with the order of the actual items. You will be able to
update the order at any time in the future.
For now, focus on capturing all the attractions you are interested in and then address the order later. As you create your Activity and Checklist items, don't be concerned with the order of the actual items. You will be able to
update the order at any time in the future.
For now, focus on capturing all the attractions you are interested in and then address the order later.
See our page on Ordering Activities & Checklists explaining more on ordering items to optimize travel time.
|
|
|
Side-by-Side Attractions Viewing & Entry |
|
Open the Google Attractions Map in New Window |
Position Pages Side-by-Side |
From the Booking Activities or Checklist pages, at the 'Location' or 'Activity' levels, hold the <Shift> key down while Clicking on the
 (Location Search - Attractions) icon to open Google Maps showing location markers for area attractions. (Location Search - Attractions) icon to open Google Maps showing location markers for area attractions. |
After Google Maps has been opened in a new window, position the Booking Page window on either side of your screen by clicking the Window Header and dragging the window to one side of the screen allowing the window to snap into place. Do the same with the Google Maps page on the opposite side of the screen. (See example screen shots below) |
|
Trip Builder:
Checklists |
 |
From the Trip Builder: Checklists page where you enter checklist items, hold the <Shift> key down while clicking on the
(Location Search - Attractions) icon to open Google Maps showing location markers for area attractions.
For more information on Checklists, see our page: Trip Builder: Checklists |
|
|
|
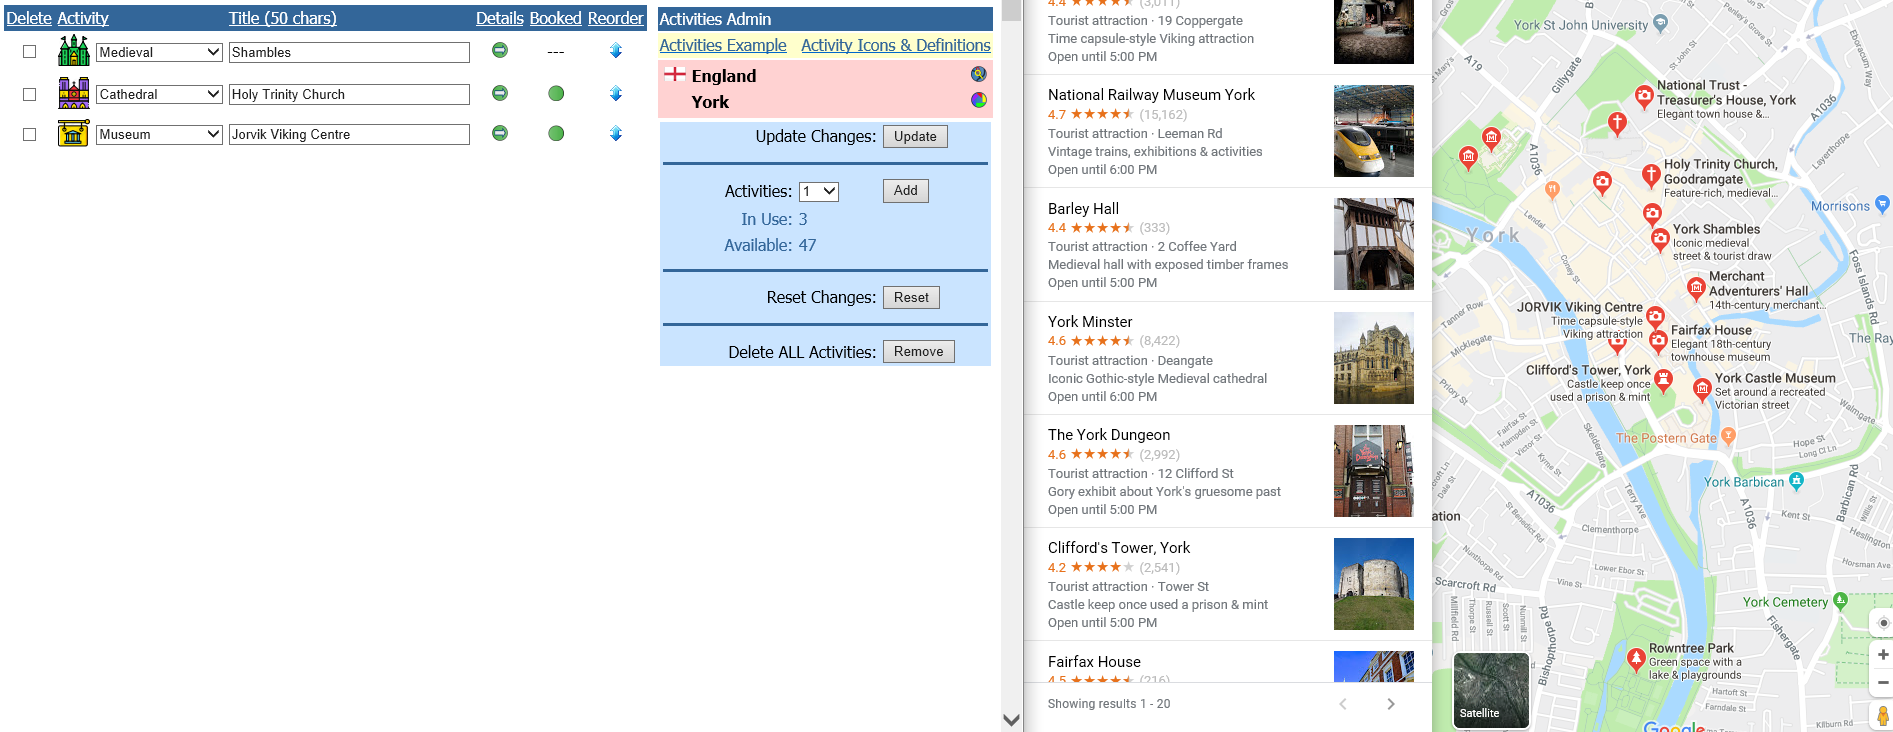
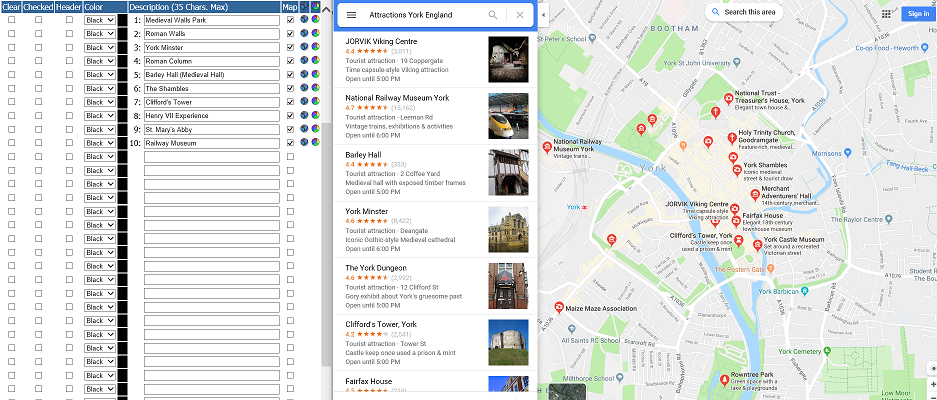
As described above, position the Trip Builder: Checklists page and the Google Maps Location Attractions pages Side-by-Side. When you find an attraction you are interested in, simply type the attraction name into a description box as shown below.
 |
We found that when using Google Chrome and holding the <Ctrl> Key down, you are able to highlight the attraction text name on the left side of the maps page and then drag and drop the highlighted text to an open checklist text box, eliminating the need to actually type the name.
* This did not seem to work when using Internet Explorer. |
|
For each item representing a location, click the 'Map' checkbox.
Checking the 'Map' box will link the
and
 icons to the item. If the 'Map' box is not checked, the item will be treated as a standard text checklist item. icons to the item. If the 'Map' box is not checked, the item will be treated as a standard text checklist item. |
|
|
|
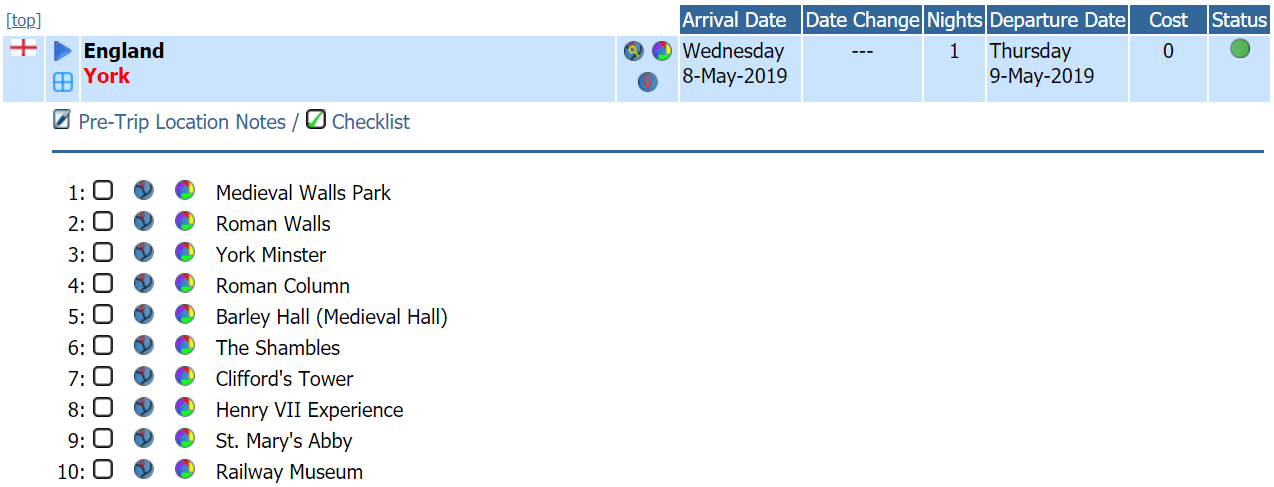
Side-by-Side view at the Activity Checklist level showing Attractions Map |
 |
|
|
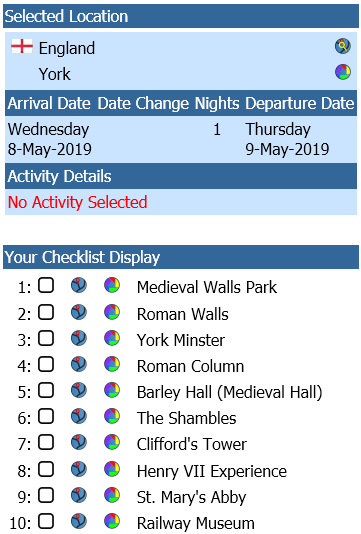
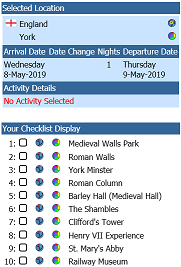
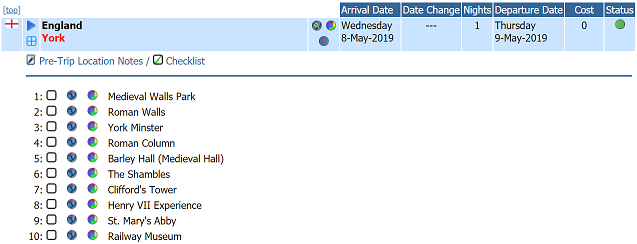
Once you have entered and saved your checklist, it will display as shown below. As you travel, using your mobile device to access the Mobile Trip Profile, the
 icon will be linked to Google Maps for navigation to the attraction. The
icon will be linked to Google Photos showing images of the attraction. icon will be linked to Google Maps for navigation to the attraction. The
icon will be linked to Google Photos showing images of the attraction. |
|
|
 |
|
|
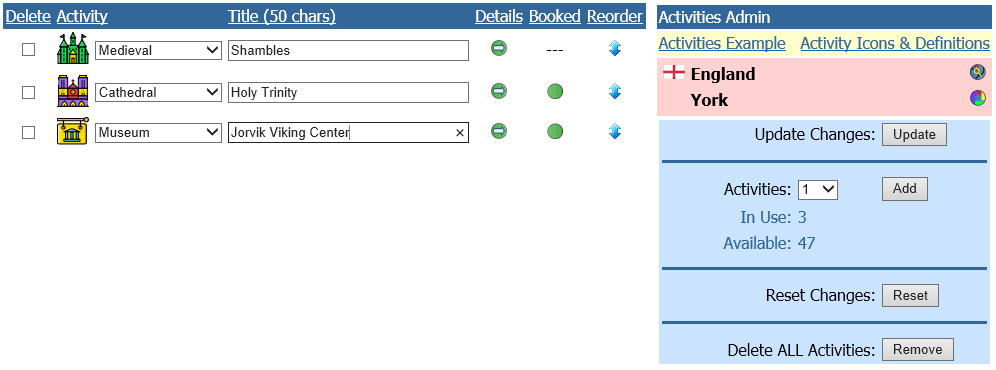
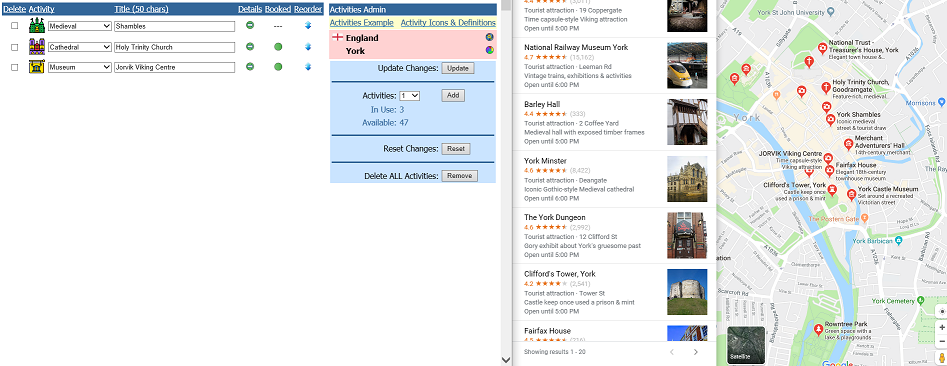
The same can be done at the Trip Builder: Activities level when you are entering activities for a specific location. Perform the same Side-by-Side actions described above by holding the <Shift> key down while clicking the
icon, then position the screens side-by-side.
Different from the checklist, entering attractions at the activity level will allow you to enter additional information for each item on the related Booking Details page. |
|
|
|
Activities for Selected Location |
 |
|
|
|
Side-by-Side view at the Activity level showing Attractions Map |
 |
|
|
|